Building an app is always an interesting and fun filled experience. An app may be a desktop app or a web app. Nowadays there is a huge demand for web apps and many frameworks are in demand to facilitate the needs of the developers. One such web framework is Django. In this course the main aim is to facilitate the learners with the fundamental and practical concepts of the framework which deals with modelling, form creation and shell interaction which helps to build an efficient web app. At the end of the course the learners will be able to build an interactive web app on their own.
Installation
Python is an all-purpose high-level programming language. When we say all-purpose it includes anything and everything. Include building apps. For building desktop apps we have Tkinter, pyQt, PySide, etc. And when it comes to web Apps the first thing that comes to our mind is Django with silent D. Django is a python Web framework specially meant for designing web apps. Even though there are many frameworks such as flask, cherry py, Web2py, etc The advantage of Django is that it facilitates a fast, clean, and hassle-free platform for designing web apps. Further information can be found on the Python official website. https://www.djangoproject.com/start/
It is a best practice to always create your folders and files anywhere other than in your C drive.
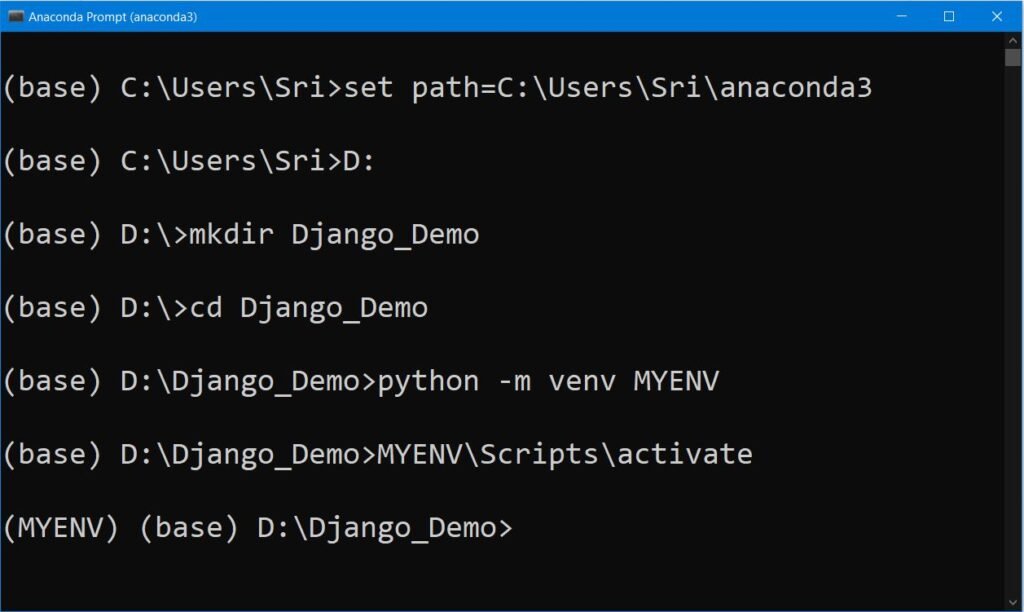
Open the command prompt or anaconda prompt and set the python path as shown below.
C:\Users\username>set path=C:\Python36
OR
C:\Users\username>set path=C:\Users\Sri\anaconda3
C:\Users\username>D:
Create a folder called Django_Demo
D:\>mkdir Django_Demo
D:\>cd Django_Demo
VIRTUAL ENVIRONMENT
Virtualenv: Before installing Django, it is recommended to install a Virtual environment because it creates a new virtual space that isolates your Python files and software from other projects. This will also ensure that any changes made to your current project won’t affect other projects/websites you’re developing.
Create a virtual environment so that if at all you need to update any of the packages it won’t disturb your other projects.
The syntax used for creating a virtual environment in python is very simple.
python –m venv <Environment name>
Here, venv is a keyword.
D:\Django_Demo>python -m venv MYENV
After creating a virtual environment, it is important to activate it then only we can use it.
D:\Django_Demo>MYENV\Scripts\activate
Once the virtual environment is activated you can observe your given environment before the command prompt.
(MYENV) D:\Django_Demo>pip install django
Note: pip is used in python for installation. If the new version of pip is available, you will be shown a message regarding this and recommend you to update pip. If you want to update pip then use the following command.
python -m pip install –upgrade pip
You can check the version of your Django by giving
python –m django –-version

IT IS THE TIME TO CREATE YOUR 1st DJANGO PROJECT
In order to create a project you need to give the following command
(MYENV) D:\Django_Demo>django-admin startproject project_Hello
Go to project. Inside the project, you will find the manage.py file which is our master file for our further actions. Along with it a folder with the same name as that of the project name will be found (here project_Hello). Inside this folder, we have 5 core files named __init__.py, asgi.py, wsgi.py, urls.py and settings.py
__init__.py (which acts as a constructor), asgi.py and wsgi.py files are there for providing compatibility between web servers, frameworks, and applications. urls.py is used for managing the URLs. And settings.py is a core file in Django projects. It holds all the configuration values that your web app needs to work. The settings may be related to login settings, database settings, and many more.
In order to make the project executable we need to migrate into the project environment where all the required files, folders, and databases are auto-created. In order to migrate into the project environment one should give the following code:
(MYENV) D:\Django_Demo>cd project_Hello
(MYENV) D:\Django_Demo\project_Hello>python manage.py migrate

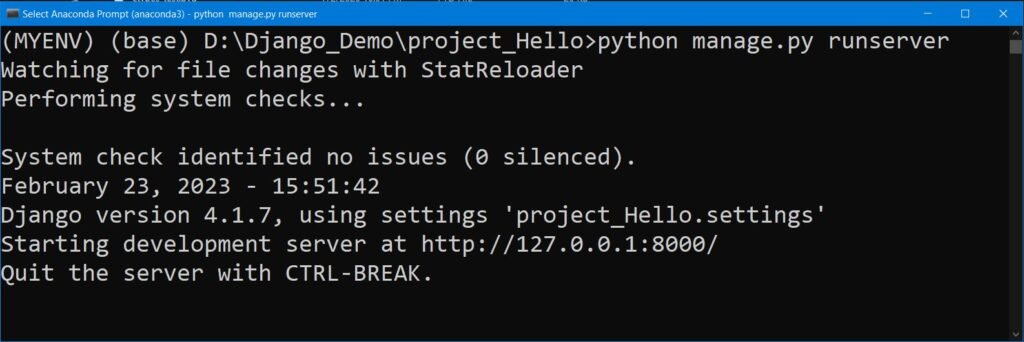
Now run the server to check migration has happened successfully
(MYENV) D:\Django_Demo\project_Hello>python manage.py runserver
Once you migrate into the working environment and the server is running properly it is required to authenticate the credentials. i.e. you need to provide a username, password, and email_id details. Since it is your project you will be the superuser thus give the following command to authenticate superuser. Before that press Ctrl+c to come back to (MYENV) D:\Django_Demo\project_Hello> path.
(MYENV) D:\ Django_Demo \ project _Hello>python manage.py createsuperuser
Username (leave blank to use ‘YourUsername’):
Email address: *********@gmail.com
Password: ********
Password (again): ********
Superuser created successfully.
Once the superuser is created run the server again
(MYENV) D:\Django_Demo\project_Hello>python manage.py runserver
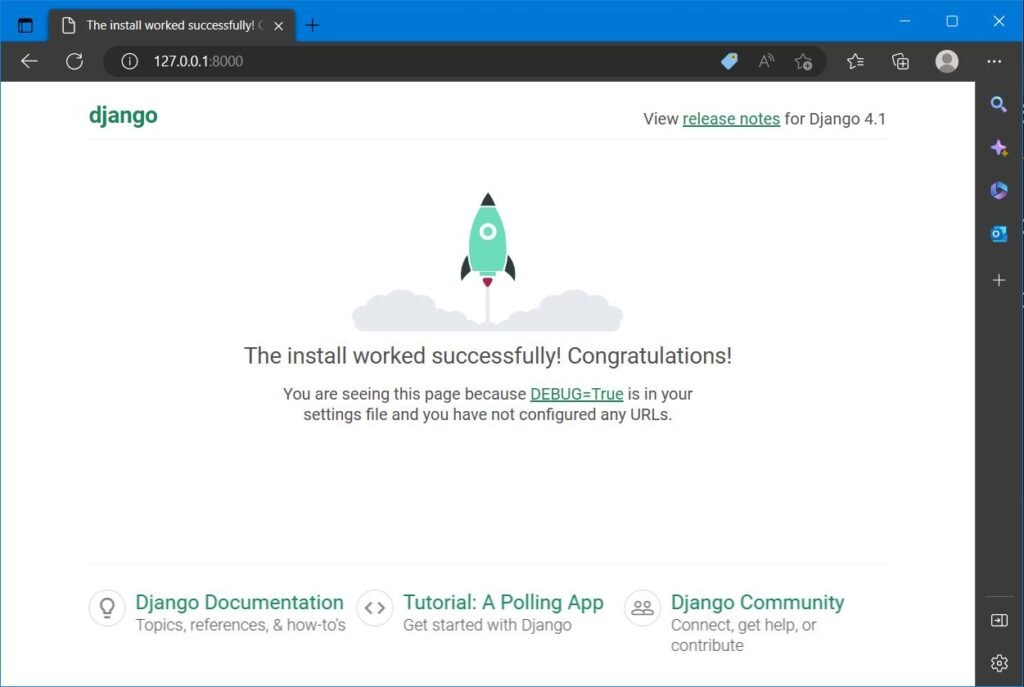
And successfully go to your web browser and check the starting page.
Type server address 127.0.0.1:8000
To confirm the admin credentials type 127.0.0.1:8000/admin
You will be asked to confirm the username and password. And you are done with your empty project creation and ready to go for building your 1st app.


